
Table of Contents
- Why Do 3D Prints Have Layer Lines
- Best Layer Height for Smooth Prints
- Optimizing Print Speed and Extrusion Settings
- Retraction and Z-Seam Configuration
- Bed Leveling and First Layer Calibration
- Sanding 3D Prints for a Smooth Finish
- Material-Specific Strategies for Layer Line Reduction
- Common Mistakes to Avoid
Last Updated: August 28, 2026
Why Do 3D Prints Have Layer Lines
Layer lines appear because your printer deposits material one thin layer at a time, stacking them vertically to build the final object. Each layer is typically between 0.1mm and 0.4mm thick (peer-reviewed research). Those visible lines are the seams where one layer stops and the next begins, not a sign of failure, but a fundamental characteristic of the process.
Thicker layers create more pronounced ridges; thinner layers produce smoother surfaces but take longer to print. Layer lines worsen when multiple factors combine poorly: incorrect nozzle temperature, inconsistent extrusion, improper cooling, or bed leveling issues. The good news is that layer lines are entirely manageable. With the right combination of hardware calibration, software optimization, and post-processing techniques, you can produce prints that look nearly injection-molded.
Best Layer Height for Smooth Prints
The layer height you choose is the single most important variable for avoiding layer lines. Smaller layer heights mean more layers, finer detail, and smoother surfaces. Larger layer heights mean fewer layers, faster prints, and more visible stepping.
Standard layer heights range from 0.08mm for ultra-smooth results to 0.4mm for speed-focused prints (peer-reviewed research). Most users find that 0.1mm to 0.2mm offers a practical balance between surface quality and print time.
Finding Your Optimal Layer Height
Start by understanding your printer's capabilities. Your nozzle diameter typically determines your practical minimum layer height: a 0.4mm nozzle shouldn't go below 0.08mm, and a 0.6mm nozzle works better starting at 0.12mm.
Test different heights on small calibration prints before committing to full-size projects. A simple 20mm cube printed at 0.1mm, 0.15mm, and 0.2mm will show you exactly how each setting affects surface finish on your specific machine. Document your results to build a personal reference library that accounts for your exact hardware and material setup.
Adaptive Layer Height Settings
Modern slicers like PrusaSlicer and Cura offer adaptive layer height features that automatically adjust layer thickness based on model geometry. Tall, vertical surfaces use thicker layers for speed, while complex curved areas switch to thinner layers for detail. Set your minimum layer height to 0.1mm and maximum to 0.3mm, then let the slicer optimize the rest. The result is typically 15-20% faster than printing the entire object at minimum layer height, with virtually no visible quality loss.
Optimizing Print Speed and Extrusion Settings
Print speed and extrusion settings work together to determine how cleanly each layer deposits material. Most users print too fast. For avoiding layer lines, reduce your print speed by 20-30% from factory defaults. A typical speed of 60mm/s becomes 40-50mm/s.
Adjusting Flow Rate and Wall Loops
Flow rate controls how much plastic exits the nozzle during printing. Print a flow calibration cube and measure the wall thickness. If walls should be 0.8mm but measure 0.75mm, you're under-extruding; increase flow to 105-110%. If walls measure 0.85mm or thicker, reduce flow to 95%.
Wall loops (perimeter passes) determine how many outer passes your printer makes. For avoiding layer lines, increase wall loops from the default 2 to 3 or 4. This extra perimeter gives you more opportunity to sand and finish the surface without reaching infill material.
Cooling Fan Speed and Thermal Stability
Cooling fan speed dramatically affects how cleanly each layer solidifies. Too little cooling causes sagging and poor layer adhesion; too much causes internal stress and warping.
Start with fan speed at 50% for the first layer, then increase to 80-100% for subsequent layers. Keep your printer in a space between 65-75°F if possible. If that's not practical, consider building a simple enclosure around the printer to buffer temperature swings.
Retraction and Z-Seam Configuration
Retraction pulls filament back into the nozzle during travel moves to prevent oozing. Z-seam placement determines where the layer starts and stops, creating a visible seam line.
Configure retraction for your specific filament. PLA typically needs 4-6mm retraction at 40mm/s (peer-reviewed research). PETG requires 6-8mm at 35mm/s. TPU and flexible materials often need less retraction or none at all.
Set your slicer to "sharpest corner" mode to hide seams in corners where they're less visible. For articulated figures and display pieces, use "random" mode to scatter seams across the surface. Coasting and wiping are advanced techniques that reduce nozzle pressure before layer endpoints and wipe away excess material, noticeably reducing layer artifacts when configured correctly.
Bed Leveling and First Layer Calibration
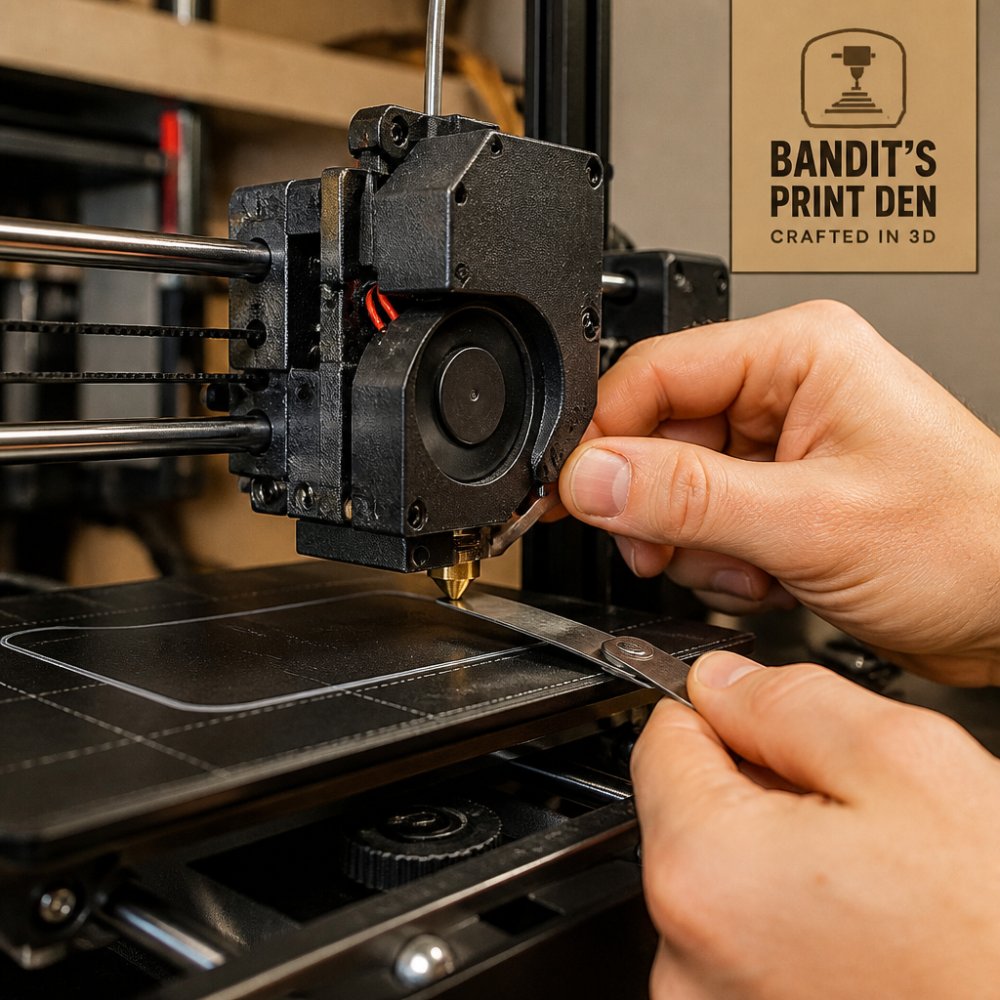
A properly leveled bed is non-negotiable for consistent layer adhesion and quality. Level your bed with the nozzle cold, then verify the gap with a piece of standard printer paper (roughly 0.1mm thick). The nozzle should just barely catch the paper with slight resistance. Check all four corners and the center point. Most beds need re-leveling every 20-30 hours of printing.
First layer speed matters more than overall print speed. Print your first layer at 50% of your normal speed. Bed temperature should be 5-10°C higher for the first layer than subsequent layers.
Sanding 3D Prints for a Smooth Finish
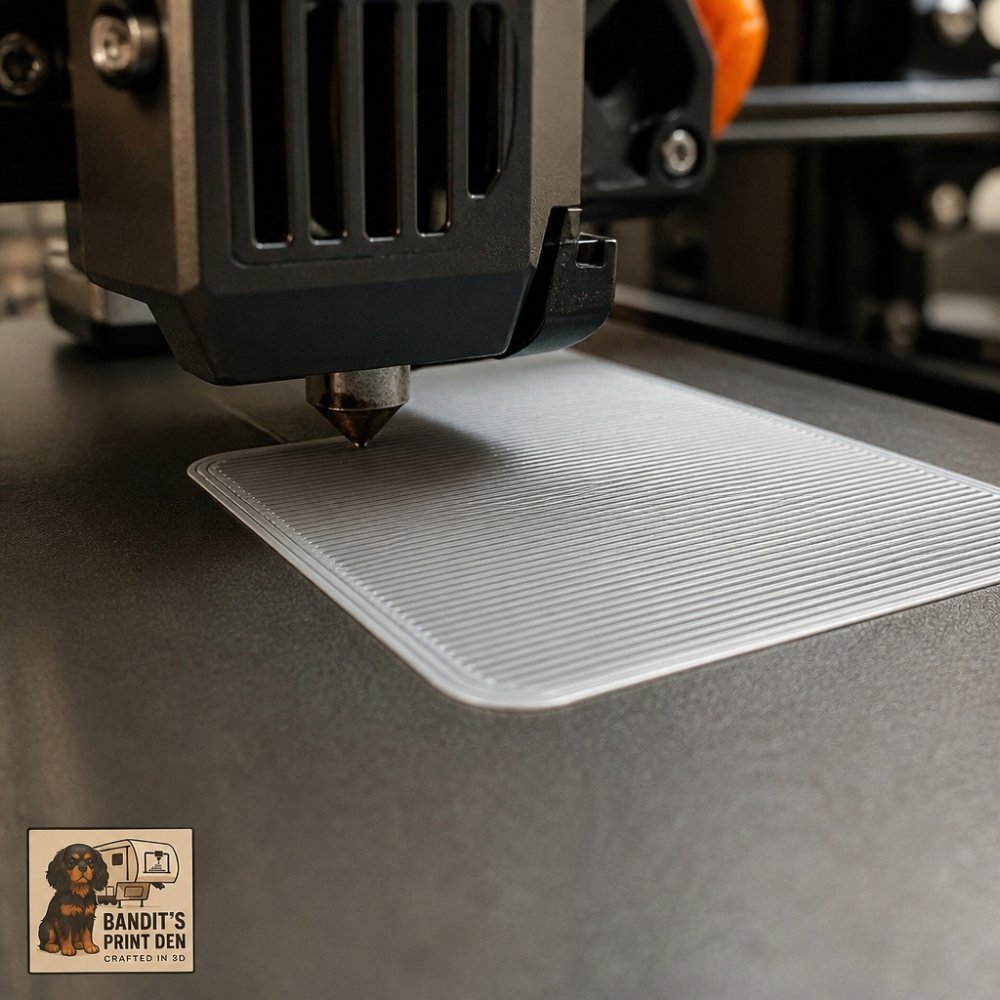
Sanding is where avoiding layer lines really happens in post-processing. No amount of software optimization completely eliminates layer lines; sanding progressively smooths those seams until they're nearly invisible.
Sanding Progression and Grit Selection
Begin with 120-grit sandpaper to quickly remove the most obvious layer lines. Work in circular motions, targeting the layer seams specifically.
Progress to 220-grit to smooth out scratches left by 120-grit. Move to 400-grit for fine finishing; layer lines become increasingly subtle. For display-quality finishes, continue to 600-grit or 1000-grit, though 400-grit produces excellent results for most projects without excessive labor.
Primer and Paint for Surface Concealment
Use a filler primer specifically designed for 3D prints. Apply thin coats rather than one thick coat. Sand lightly between primer coats with 400-grit paper to create adhesion for the next layer.
Paint color choice affects how visible remaining imperfections are. Matte finishes and darker colors minimize visibility of minor surface irregularities. If you're trying to hide layer lines, choose matte black or dark colors over bright white or glossy finishes.
Material-Specific Strategies for Layer Line Reduction
Different materials behave differently. PLA is forgiving but benefits from aggressive cooling. Increase fan speed to 100% after the first layer. PETG requires more careful cooling management; start at 50% fan speed and increase gradually only if you see stringing or oozing.
TPU and flexible materials need minimal cooling and retraction. Run fans at 20-30% maximum. Retraction should be minimal or disabled entirely. Consider material-specific slicer profiles from your printer manufacturer or community sources.
Common Mistakes to Avoid
The most common mistake is adjusting too many variables at once. Adjust one variable per test print, document the outcome, then move to the next variable.
Another widespread error is neglecting bed leveling. Check leveling every 10-15 hours of printing, not just when problems appear.
Skipping the sanding stage is a huge missed opportunity. Thirty minutes of sanding transforms a mediocre print into something display-quality. Using incompatible settings for your specific printer wastes time and material. Test, measure, document, and build your own profile library.
Finally, printing too fast for the quality you're targeting defeats the purpose. There's no magic setting that delivers perfect results at maximum speed. Choose between fast and smooth, and optimize accordingly.
When you're ready to create high-quality 3D-printed figures, desk accessories, or custom projects, Bandit's Print Den brings this expertise directly to your door. Our mobile printing studio is equipped to handle complex prints with meticulous attention to surface finish and detail. We apply these same techniques, from optimized slicer settings to professional post-processing, to every project. Whether you need articulated collectibles, personalized desk buddies, or custom gifts, we ensure your prints arrive smooth and impressive. Explore our portfolio and place your custom order today to see the difference professional-grade printing makes.
Frequently Asked Questions
Is it possible to 3D print without layer lines?
Complete elimination of layer lines is difficult, but you can make them nearly invisible through the right combination of settings. Smaller layer heights (0.1 mm or less), optimized print speed, proper cooling, and post-processing like sanding and painting reduce visibility dramatically. Material choice matters too, some filaments show layer lines more than others. Most professional-quality prints still have microscopic layer artifacts, but they're imperceptible to the naked eye.
What's the best layer height for smooth prints?
For smooth results, aim for 0.1 to 0.15 mm layer heights, especially on visible surfaces. Thinner layers take longer to print but produce finer detail and less pronounced ridges. Your nozzle diameter affects this, a 0.4 mm nozzle shouldn't go below 0.08 mm. Start at 0.15 mm and test lower heights on non-critical prints to find your printer's sweet spot without sacrificing print time excessively.
How do I remove layer lines from my 3D print?
Post-processing is your best tool. Start with 120-grit sandpaper and progress through 220, 400, and 600-grit for increasingly smooth surfaces. Fill gaps with primer or filler, sand again, then paint. For faster results, use chemical smoothing on materials like ABS (acetone vapor), though this works material-specifically. Sanding works on all materials and gives you the most control over the final finish.
Does layer height affect print quality?
Yes, significantly. Smaller layer heights produce finer detail and smoother surfaces but increase print time and material use. Larger layer heights print faster but create more visible ridges and reduce detail. The relationship between layer height and nozzle diameter is critical, mismatching them causes under-extrusion or over-extrusion, both visible as quality defects. Your choice should balance the detail you need with acceptable print duration.
This article was written using GrandRanker
0 comments